

Learning how to color my hair at home involves understanding the right techniques and preparation steps to achieve salon-quality results. Whether you are looking for a subtle change or a dramatic transformation, dyeing your hair yourself can be a rewarding experience when done correctly. At Radzs Hair Studio Cyberjaya, we believe everyone deserves beautiful hair, and we’re here to guide you through the process.

Preparing your hair for a successful home coloring experience
Before you even think about mixing your hair dye, proper preparation is key to ensuring an even and vibrant color application. This crucial step helps the dye adhere better to your hair strands, leading to a more consistent and long-lasting result. Neglecting preparation can lead to patchy color, uneven tones, and overall dissatisfaction with your new look.
The condition of your hair plays a significant role in how it will react to the hair dye. Healthy hair with a smooth cuticle layer will absorb color more uniformly, while damaged or dry hair might absorb it unevenly, resulting in darker or lighter spots. Taking the time to prepare your hair will make the entire process smoother and more effective.
Getting your hair ready for the coloring process
To prepare your hair, avoid washing it for 24-48 hours before dyeing. Natural oils act as a protective barrier for your scalp, preventing irritation from the chemicals in the dye. This also helps the color to penetrate and adhere better to the hair shaft. Additionally, ensure your hair is tangle-free before you begin.
Before you color your hair, performing a strand test is highly recommended, especially if you’re using a new product or a significantly different shade. A strand test allows you to see how the color will look on a small section of your hair and helps you determine the ideal processing time. This small step can prevent major color mishaps and ensure you love your final result.
Gathering all your essential hair dyeing tools
Having all your tools ready before you start is crucial for a smooth and efficient hair coloring process. You will need a cape or old towel to protect your clothes, gloves, a comb for sectioning, hair clips, a non-metallic bowl, and an applicator brush. Some kits come with these, but it’s always good to have extras on hand, especially for those with longer or thicker hair.
Don’t forget to protect your skin! Apply a thin layer of petroleum jelly or a rich moisturizer around your hairline, ears, and neck to prevent staining. This simple step can save you from having to scrub stubborn dye marks off your skin later. Having a timer handy is also essential to keep track of processing times accurately.

Mastering the art of applying hair dye for beginners
Applying hair dye evenly is often the biggest challenge for those learning how to color my hair at home. However, with the right technique and a methodical approach, even beginners can achieve fantastic results. The key is to work in small, manageable sections to ensure every strand is saturated with color.
Remember that the application process can be messy, so take your time and don’t rush. A careful and deliberate application will prevent missed spots and ensure the color develops uniformly across your entire head. Consistency in application is what separates a professional-looking dye job from a patchy one.
Sectioning your hair for even color distribution
To start off, you will need to section the hair out from ear to ear and down the center, for a total of four sections. Secure each section with a hair clip. This creates a clear roadmap for applying the dye, ensuring no areas are missed and the color is distributed evenly throughout your hair. Proper sectioning makes the entire application process much more manageable.
Working with smaller sections allows for better saturation and control. Once you have your four main sections, you can further subdivide them into smaller subsections as you apply the dye. This precision is vital for achieving a uniform color, especially if you have very thick or long hair. Taking your time with sectioning will pay off in the final result.

Applying the hair dye from roots to ends
Once your hair is sectioned, put on your gloves and mix the dye according to the product instructions. Always start applying the color at the roots, as they typically require more processing time due to new growth. Use the applicator brush to apply the dye evenly to the root area of each small subsection. Be thorough but avoid saturating the roots excessively.
After applying to the roots, work the dye through the mid-lengths and ends of your hair. If you are tinting your hair for the first time or doing a full color change, ensure every strand is coated. For touch-ups, focus on the roots and only pull the color through to the ends for the last 5-10 minutes of processing to refresh the existing color without over-processing.

Ensuring professional results when you color your hair
Achieving professional-looking results when you color your hair at home goes beyond just applying the dye. It involves careful timing, proper rinsing, and effective aftercare to lock in the color and maintain hair health. Many common mistakes can be avoided with a little extra attention to these final steps, transforming a good dye job into a great one.
Paying attention to the details during these stages will help you avoid issues like premature fading, dry hair, or scalp irritation. Just like a professional salon, the quality of your home coloring experience is heavily influenced by how meticulously you follow through with the entire process. Remember, beautiful hair is healthy hair.

Timing and rinsing your newly colored hair
Once the dye is fully applied, set your timer according to the instructions on the dye box. Do not exceed the recommended processing time, as this can lead to damage, an undesirable color, or scalp irritation. Always adhere to the specific guidelines for your chosen product to ensure optimal color development and hair integrity.
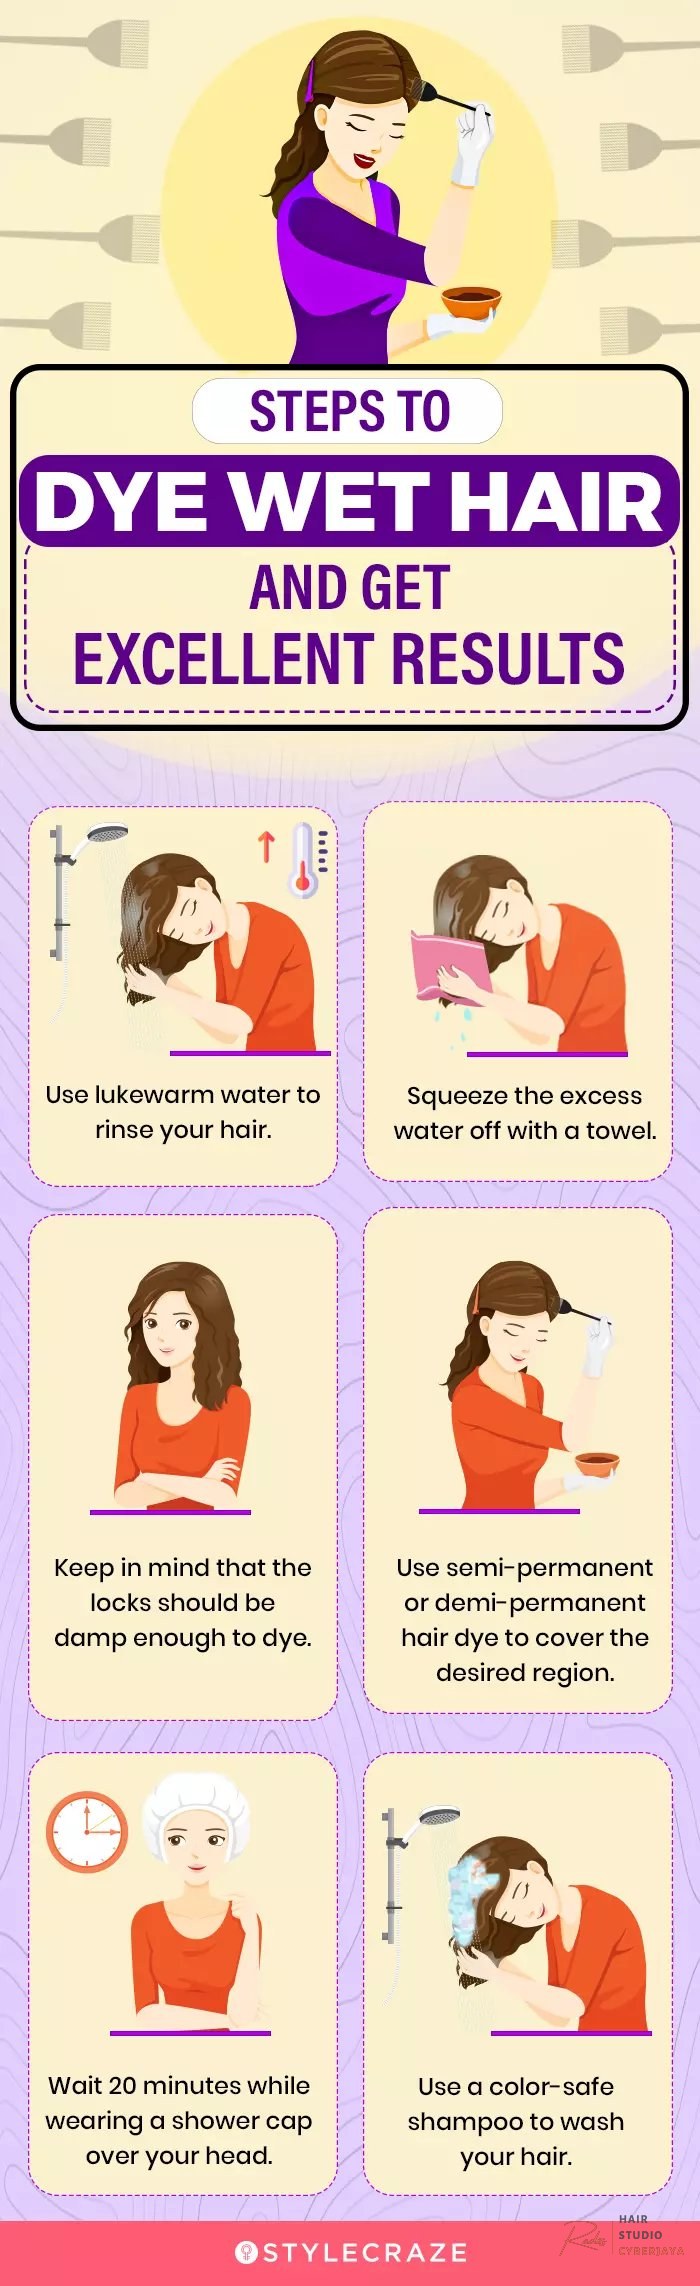
When the timer goes off, rinse your hair thoroughly with cool or lukewarm water until the water runs clear. Avoid hot water, as it can strip the color and dry out your hair. Once rinsed, apply a color-safe conditioner, often included in the dye kit. Leave it on for the recommended time to lock in moisture and seal the hair cuticle. Radzs Hair Studio recommends using cool water for rinsing to help close the hair cuticle, which makes the color last longer and look shinier.

Essential aftercare tips for maintaining vibrant color
To maintain your new hair color, use color-safe shampoos and conditioners specifically designed to protect dyed hair. These products are formulated to be gentle and prevent premature fading. Avoid washing your hair every day; instead, try to extend the time between washes to preserve your color and natural oils.
Limit your use of heat styling tools, as high temperatures can cause color to fade more quickly. If you must use them, apply a heat protectant spray beforehand. Additionally, consider using a leave-in conditioner or hair mask once a week to keep your hair hydrated and healthy, ensuring your color stays vibrant and beautiful for longer. Sun exposure can also fade color, so wearing a hat or using UV protection hair products is a great way to preserve your shade.

Common mistakes to avoid when you color your hair
When you decide to color your hair at home, it’s easy to fall into common pitfalls that can lead to less-than-ideal results. Understanding and avoiding these mistakes can make a significant difference in the success of your home dyeing journey. From improper shade selection to neglecting allergy tests, a little foresight can save you a lot of trouble.
Many of these mistakes stem from rushing the process or not fully understanding the product instructions. Taking the time to read, plan, and execute each step carefully will greatly improve your chances of achieving a beautiful and healthy hair color. Always remember that patience and precision are your best friends in DIY hair coloring.

Choosing the wrong hair dye shade
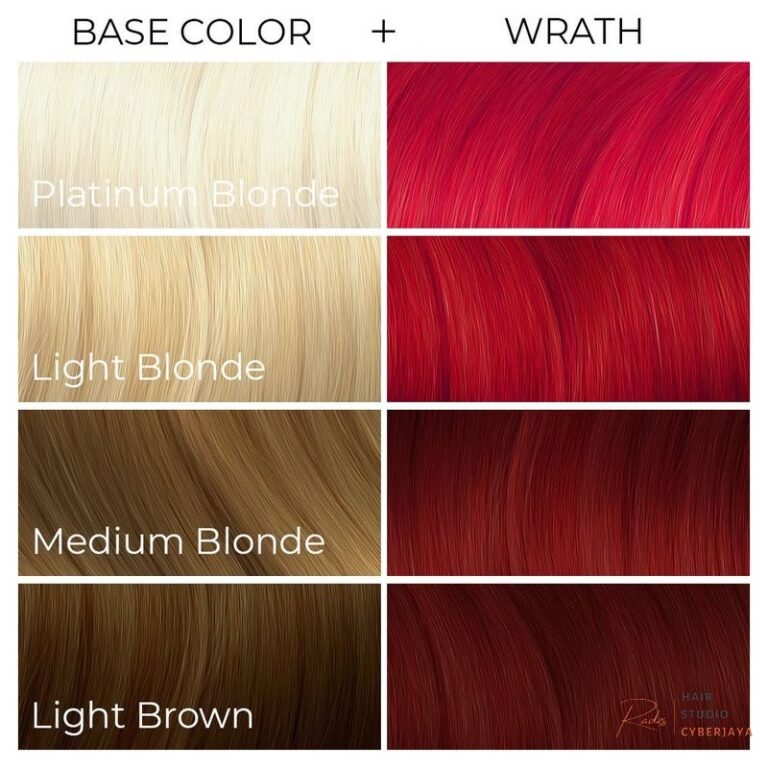
One of the most common mistakes is picking a color that doesn’t suit your skin tone or is too drastic of a change from your current shade. It’s often best to stick within two shades of your natural color, especially if you are new to home dyeing. Consider your skin’s undertones (warm, cool, or neutral) when selecting a shade to ensure it complements your complexion.
Always read the product description and look at examples of how the color appears on different hair types. Keep in mind that the color swatch on the box is often an approximation and can vary depending on your hair’s starting color and porosity. If in doubt, choose a slightly lighter shade, as it’s easier to darken hair than to lighten it at home.

Neglecting patch and strand tests
Skipping the patch test is a serious error that can lead to allergic reactions, ranging from mild irritation to severe swelling. Always perform a patch test 48 hours before applying the dye to your entire head, even if you’ve used the product before. Skin sensitivities can develop over time, and it’s better to be safe than sorry.
Similarly, a strand test is crucial for previewing the color result and determining the correct processing time for your specific hair type. Different hair porosities and textures can react differently to the same dye. This test prevents unwanted surprises and helps you adjust the application time to achieve your desired shade without over-processing or under-processing your hair.

Expert tips for special coloring techniques
Beyond a single-process all-over color, there are various special techniques you can try at home to add dimension and flair to your hair. While these might seem more complex, with careful planning and the right tools, you can achieve stunning results. These techniques can help you personalize your look and create unique styles that stand out.
Exploring different coloring methods can be an exciting way to refresh your appearance without committing to a full-head transformation. Whether you want subtle highlights or a bold split-dye, understanding the nuances of each technique is key to success. Always start with a clear vision and gather all necessary supplies before you begin.

Adding highlights or lowlights at home
If you’re wondering how to tint your hair with highlights or lowlights, a cap or foil method can be effective. For highlights, choose a color one to two shades lighter than your base. For lowlights, select a shade one to two shades darker. These techniques add dimension and depth, making your hair look more vibrant and textured.
Using a highlighting cap involves pulling small strands of hair through holes and applying the lighter dye. The foil method requires more precision, where you paint the dye onto small sections of hair and wrap them in foil. Both methods require careful sectioning and application to ensure a natural, blended finish. Always refer to specific product instructions for the best results.

Trying a split dye or ombré effect
A split dye involves coloring each half of your head a different color, creating a striking and bold look. This technique requires very precise sectioning down the middle of your head to ensure a clean line between the two colors. Apply each color carefully, ensuring they do not bleed into each other during processing.
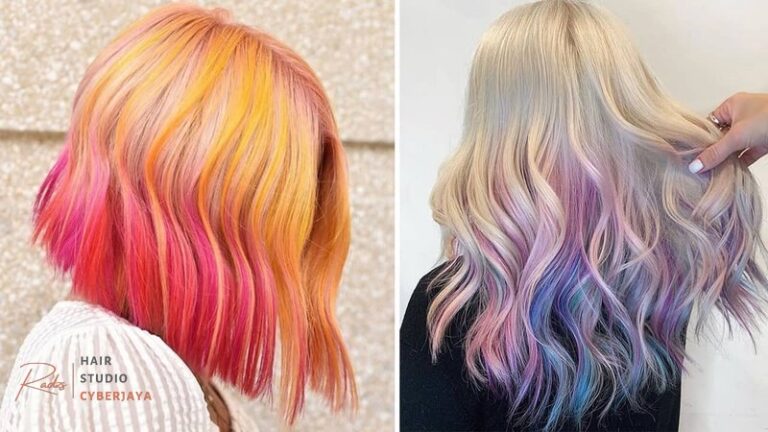
For an ombré effect, you’ll need to lighten the ends of your hair gradually. This typically involves applying a lighter shade or bleach to the mid-lengths and ends, blending upwards to create a seamless transition. The key to a beautiful ombré is a soft, diffused blend, avoiding harsh lines. Practice on a small section first to perfect your blending technique before applying it to your entire head.

Frequently asked questions about coloring your hair
Is it better to color my hair on clean or dirty hair?
It is generally better to color your hair on slightly dirty hair, specifically hair that hasn’t been washed for 24-48 hours. The natural oils provide a protective barrier for your scalp and can help the dye adhere better to the hair shaft, resulting in a more even and vibrant color. Avoid hair that is excessively oily, as this can hinder dye penetration.
How long should I leave hair dye on my hair?
You should always follow the processing time indicated in the instructions of your specific hair dye product. Leaving the dye on for too long can damage your hair or result in an undesirable color, while not leaving it on long enough can lead to an underdeveloped or uneven color. Always use a timer and adhere to the guidelines.
Can I color my hair if it’s already damaged?
Coloring already damaged hair is generally not recommended as it can worsen the damage and lead to uneven color absorption. It’s best to focus on repairing your hair first with deep conditioning treatments and professional advice. Once your hair health improves, you can consider coloring it, possibly with gentler, ammonia-free options or seeking professional help.
What should I do if my hair color turns out too dark?
If your hair color turns out too dark, you can try using a color remover product, which is designed to strip away artificial color. However, these can be harsh on your hair. Alternatively, clarifying shampoos can help lighten the color gradually. For significant corrections, it’s always best to consult with a professional stylist at a place like Radzs Hair Studio to avoid further damage.
How often can I color my hair without damaging it?
The frequency with which you can safely color your hair depends on your hair’s health, the type of dye you use, and the specific coloring technique. For permanent dyes, it’s generally recommended to wait 4-6 weeks between full color applications to allow your hair to recover and minimize damage. Root touch-ups can be done more frequently if needed, typically every 3-4 weeks.

Learning how to color my hair at home is an exciting journey that empowers you to transform your look with confidence. By following the comprehensive steps outlined in this guide, from thorough preparation and precise application to diligent aftercare, you can achieve stunning, salon-quality results right in your own bathroom. We’ve covered everything from sectioning and applying dye to avoiding common mistakes and exploring special techniques like highlighting and split dyes, ensuring you have all the knowledge needed for a successful home coloring experience. This guide helps you navigate the process of how do I color my hair with ease.
Remember, patience and attention to detail are your best allies in this process. For personalized advice, professional coloring services, or to explore a wider range of hair transformations, don’t hesitate to visit us at Radzs Hair Studio Cyberjaya. Our experienced stylists are always ready to help you achieve your dream hair color and provide expert care. Take the first step towards a vibrant new you today!